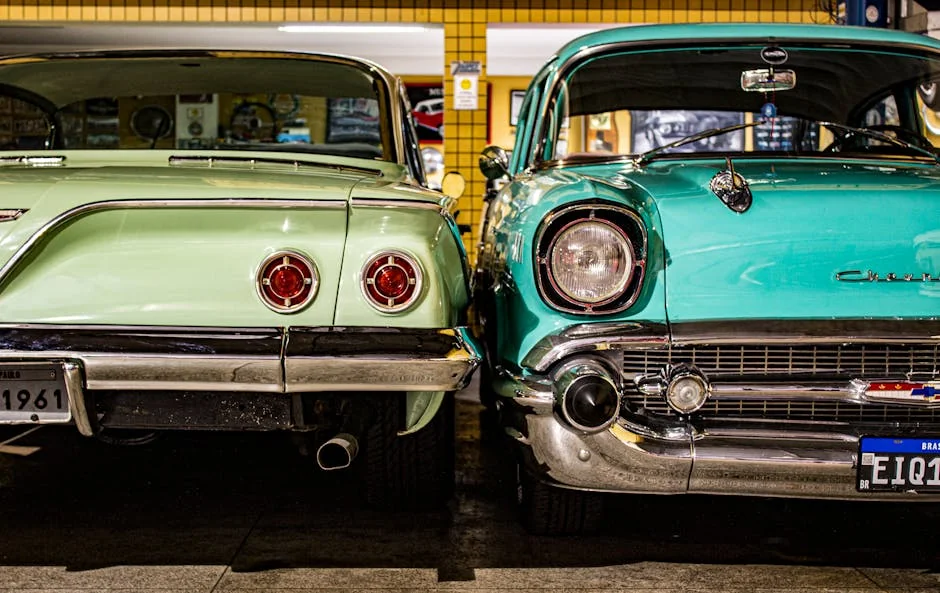
Restoring an old vehicle is one of the most rewarding projects a beginner can take on. It combines history, craftsmanship, problem-solving, and pure passion. For newcomers, the process can feel overwhelming at first, especially when dealing with rust, missing parts, mechanical problems, and budget concerns. That is why learning classic car restoration tips for amateurs before buying tools or stripping a body shell is so important. A thoughtful plan can save money, reduce frustration, and help you enjoy each stage of the project.
Table of Contents
- Start With the Right Car and a Clear Plan
- Build Skills, Workspace, and Tools Before Major Disassembly
- Focus on Safety, Rust Repair, and Mechanical Reliability First
- Manage Budget, Parts Sourcing, and Restoration Quality
- FAQ: Common Questions Beginners Ask
- How long does a beginner restoration usually take?
- What is the first system I should restore on a classic car?
- Should I do a full frame-off restoration as a beginner?
- Is it cheaper to restore a classic car or buy one already finished?
- What mistakes do beginners make most often?
- Which jobs should an amateur outsource?
- Conclusion
This guide is designed for beginners who want practical, realistic advice. Whether you are reviving a family heirloom or your first vintage coupe, these classic car restoration tips for amateurs will help you start wisely, avoid common mistakes, and build confidence from inspection to final polish.
Start With the Right Car and a Clear Plan
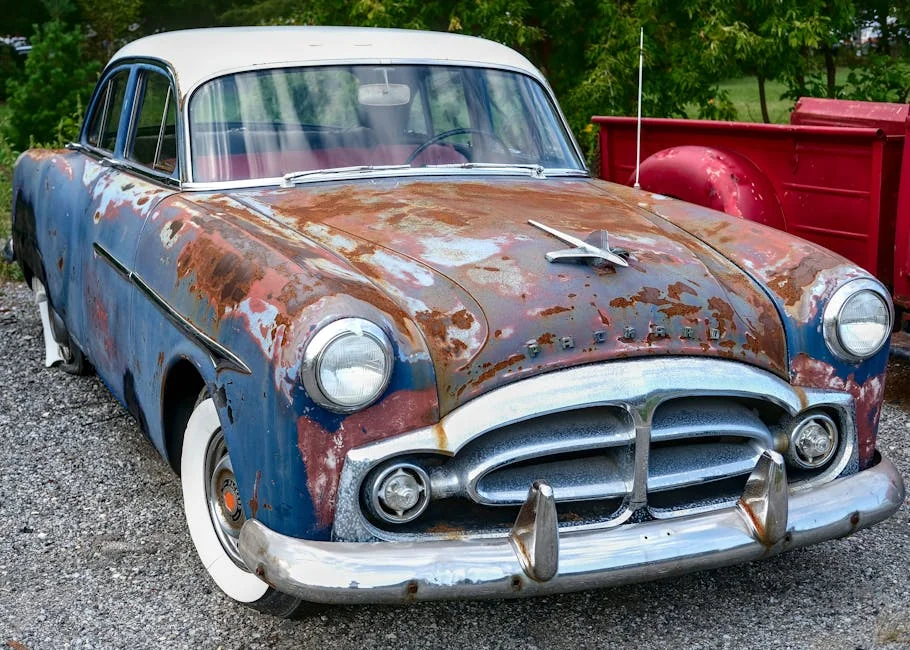
One of the most important classic car restoration tips for amateurs is to choose the right project car. Many beginners fall in love with a heavily rusted or incomplete vehicle because the purchase price seems low. In reality, the cheapest car often becomes the most expensive restoration. Before buying anything, inspect the vehicle carefully and be honest about your skill level, available workspace, and budget.
Look first at structural condition. Surface rust is manageable, but severe corrosion in floor pans, frame rails, rocker panels, suspension mounting points, and trunk floors can turn a beginner project into a major fabrication job. If you are new to metalwork, choose a car with solid bones even if the paint and interior are poor. Cosmetic work is easier than rebuilding a rusted structure from scratch.
Another key part of classic car restoration tips for amateurs is defining your restoration goal. Ask yourself what kind of finished car you want:
– A safe weekend driver
– A near-original factory restoration
– A restomod with modern upgrades
– A budget cruiser for local shows
Your answer affects every decision, including parts, paint, drivetrain, and cost. A driver-quality restoration is usually the best choice for a beginner. It allows you to focus on reliability and appearance without chasing expensive concours-level perfection.
Create a written project plan before turning a wrench. Include:
– Purchase price
– Estimated parts costs
– Tool needs
– Shop manual or service literature
– Timeline by phase
– Monthly budget cap
Documentation is also essential. Take photos before and during disassembly. Label wires, bolts, trim pieces, and brackets in sealed bags. Use shelves, bins, and tags. One of the smartest classic car restoration tips for amateurs is this: organization saves both time and money. When reassembly starts months later, clear records make the process far less stressful.
Build Skills, Workspace, and Tools Before Major Disassembly
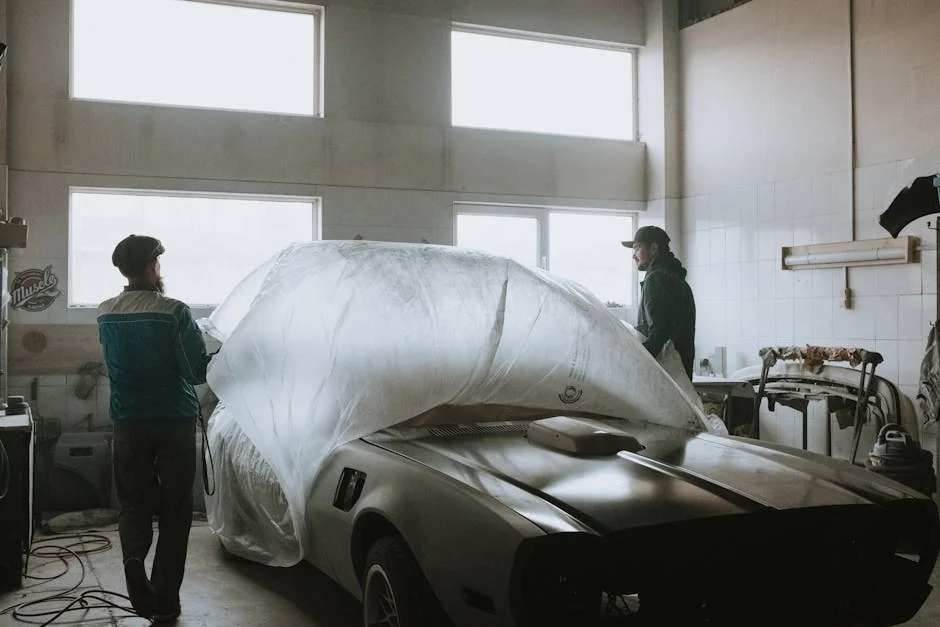
Beginners often make the mistake of tearing the car apart immediately. While enthusiasm is great, a stripped vehicle can become an intimidating pile of parts if you are not prepared. Among the most practical classic car restoration tips for amateurs is to build your workspace and core skills before doing a full teardown.
Start with a clean, dry, well-lit area. A garage is ideal, but any secure space with ventilation and enough room to move around the vehicle can work. Make sure you have safe electrical access, sturdy jack stands, a hydraulic jack, work lights, and a fire extinguisher. If you plan to paint or use chemicals, prioritize airflow and personal protective equipment.
You do not need a professional shop full of specialty equipment on day one. For most amateur projects, begin with these basics:
– Complete socket and wrench set
– Screwdrivers and pliers
– Torque wrench
– Breaker bar
– Impact driver or impact wrench
– Pry tools
– Wire brushes and scrapers
– Drill and bits
– Multimeter
– Sanding tools
– Floor jack and jack stands
– Engine hoist if drivetrain removal is planned
As you advance, you may add a welder, compressor, paint gun, or media blasting setup. However, do not buy expensive tools unless your project truly requires them.
Skill-building matters just as much as tool-buying. A great set of classic car restoration tips for amateurs includes learning one system at a time. Practice basic tasks such as:
– Removing seized fasteners without breaking them
– Sanding and prepping metal
– Replacing gaskets and seals
– Adjusting brakes
– Reading wiring diagrams
– Testing electrical circuits
– Performing compression checks
Use a factory service manual whenever possible. Online forums, restoration clubs, and model-specific communities can also provide valuable guidance. Beginners who ask questions early usually avoid costly mistakes later.
Another useful point in classic car restoration tips for amateurs is to disassemble in stages rather than all at once. For example, get the engine running before removing trim and glass, or restore the braking system before tackling interior details. Smaller victories keep motivation high and help you understand the car more clearly.
Focus on Safety, Rust Repair, and Mechanical Reliability First
Many first-time restorers dream about shiny paint and polished chrome, but the best classic car restoration tips for amateurs always put safety and reliability ahead of appearance. A beautiful car that cannot stop, steer, or run properly is not truly restored.
Begin with the brake system. Replace worn shoes or pads, inspect drums or rotors, rebuild or replace wheel cylinders and calipers, check brake lines, and install a new master cylinder if needed. Old rubber hoses should usually be replaced automatically. After brakes, inspect steering and suspension components such as tie rods, bushings, ball joints, shocks, and springs. These systems determine whether the car feels stable and safe on the road.
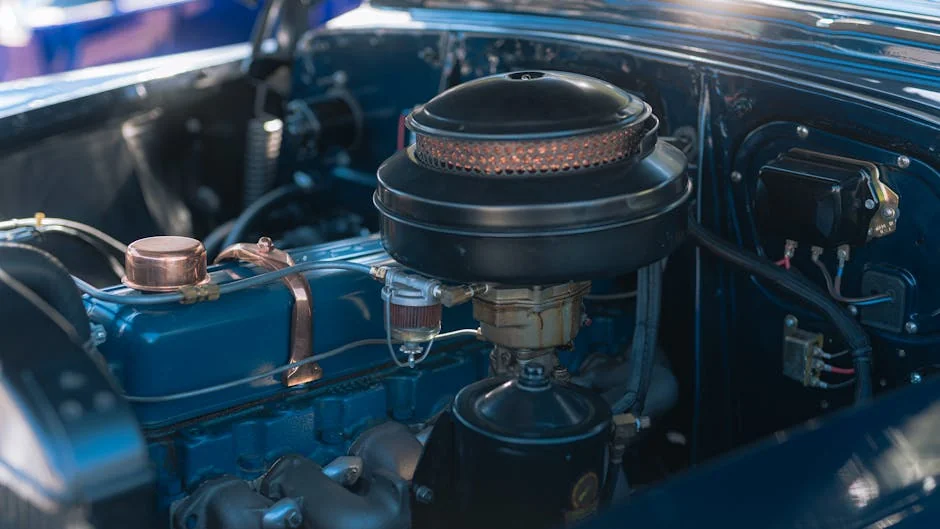
Fuel systems also deserve early attention. Old tanks often contain rust, varnish, or debris. Clean or replace the tank, inspect hard lines, replace flexible hoses, and rebuild the carburetor if necessary. If the car has been sitting for years, never assume the fuel system is usable without inspection.
Rust repair is one of the biggest challenges in beginner projects, so this topic is central to classic car restoration tips for amateurs. The key is to identify whether rust is cosmetic or structural. Surface rust can often be treated by sanding, applying rust converter or primer, and sealing the area properly. Structural rust, however, may require cutting out damaged metal and welding in patch panels.
If you are inexperienced with welding, consider outsourcing major structural repairs. There is no shame in hiring a professional for the parts that affect safety and alignment. Many successful restorers handle disassembly, parts sourcing, prep work, and reassembly themselves while paying specialists for complex metalwork.
Engine reliability should be evaluated before deciding on a full rebuild. Perform basic diagnostics first:
– Compression test
– Leak-down test if possible
– Oil pressure check
– Cooling system pressure test
– Ignition inspection
– Fuel delivery verification
Sometimes an engine that looks rough only needs ignition components, fluids, seals, and a carburetor rebuild. Other times, it may require machining and a complete overhaul. One of the wisest classic car restoration tips for amateurs is to diagnose before spending. Rebuilding everything by default can drain your budget quickly.
Electrical reliability is another area beginners should not ignore. Brittle wires, poor grounds, corroded terminals, and hacked modifications are common in older vehicles. Replace damaged wiring carefully and test each circuit methodically. Electrical issues can seem intimidating, but patience and proper diagrams make them manageable.
Manage Budget, Parts Sourcing, and Restoration Quality
Budget control separates finished projects from abandoned ones. Some of the most realistic classic car restoration tips for amateurs focus not on wrenching, but on spending. It is easy to underestimate costs when buying a project car. Parts, machine work, chrome plating, upholstery, paint materials, weatherstripping, and fasteners add up quickly.
Set two budgets:
- A target budget for the ideal outcome
- A maximum budget you refuse to exceed
Then track every expense. Use a spreadsheet with categories for body, paint, interior, engine, suspension, brakes, electrical, trim, tools, and outsourced labor. This helps you see where money is going and where compromises may be necessary.
Parts sourcing is another major factor. Effective classic car restoration tips for amateurs include using multiple channels rather than depending on one supplier. Consider:
– Reproduction parts vendors
– Salvage yards
– Online auctions
– Enthusiast forums
– Swap meets
– Local car clubs
– Specialty rebuild shops
Always compare quality before buying the cheapest option. Low-grade seals, trim, or mechanical parts may fail early or fit poorly, causing frustration and rework. Read reviews from owners restoring the same make and model.
When originality matters, research production details carefully. Some cars changed trim, engine components, and interior patterns within the same model year. If you want authenticity, gather reference photos, brochures, parts books, and factory literature. If you simply want a dependable cruiser, allow yourself flexibility. Some modern upgrades can improve safety and comfort without ruining the car’s character.
Paint is where many amateur budgets spiral out of control. Among the most practical classic car restoration tips for amateurs is understanding that paint quality depends mostly on preparation. Straight panels, rust-free metal, proper filler work, careful sanding, and clean primer matter more than flashy paint brands. If you lack spray experience, practice on scrap panels first or outsource the final color coats after doing the prep work yourself.
Do not ignore small parts. Clips, bushings, weatherstrips, emblems, grommets, and hardware kits may seem minor, but they often determine whether the finished car feels complete. Missing details can delay assembly and weaken the overall result.
Finally, know when “good enough” is truly good enough. One of the healthiest classic car restoration tips for amateurs is to aim for steady progress rather than perfection in every hidden area. Finish systems in a reliable, tidy way and keep the project moving.
FAQ: Common Questions Beginners Ask
How long does a beginner restoration usually take?
The timeline depends on the car’s condition, your experience, budget, and available hours each week. For most newcomers, driver-quality projects often take one to three years. One of the best classic car restoration tips for amateurs is to expect the process to take longer than planned. Breaking the work into small stages helps keep momentum and prevents burnout.
What is the first system I should restore on a classic car?
Start with safety and drivability: brakes, steering, suspension, tires, and fuel delivery. After that, evaluate engine health and electrical condition. These classic car restoration tips for amateurs matter because a car that stops and steers properly is a much better foundation than one that only looks good in photos.
Should I do a full frame-off restoration as a beginner?
Usually, no. A frame-off restoration is expensive, time-consuming, and technically demanding. For most first-timers, a partial or driver-quality restoration is more realistic. One of the smartest classic car restoration tips for amateurs is to complete a manageable project first, then attempt a more advanced build later.
Is it cheaper to restore a classic car or buy one already finished?
In many cases, buying a completed car is cheaper than restoring one yourself. However, restoration offers personal satisfaction and control over the final result. The best classic car restoration tips for amateurs remind beginners to decide whether they want a learning experience, a finished car, or both. That answer shapes the budget and project type.
What mistakes do beginners make most often?
Common mistakes include buying the wrong car, underestimating rust, disassembling too much too soon, ignoring documentation, overspending on cosmetic items, and skipping safety repairs. Following proven classic car restoration tips for amateurs helps reduce these risks and makes the project more enjoyable.
Which jobs should an amateur outsource?
Major structural welding, precision engine machining, complex paint finishing, upholstery, and chrome plating are often worth outsourcing. The most balanced classic car restoration tips for amateurs encourage beginners to do what they can confidently handle while hiring experts for specialized tasks that affect safety, quality, or long-term value.
Conclusion
Restoring a vintage vehicle for the first time is a challenge, but it is also an incredibly satisfying journey. Success comes from patience, planning, realistic goals, and a willingness to learn. The most useful classic car restoration tips for amateurs are often the simplest: buy the best project you can afford, focus on safety before cosmetics, stay organized, track expenses, and work step by step.
You do not need to be a master mechanic or body specialist to complete a rewarding restoration. With the right expectations and a careful approach, these classic car restoration tips for amateurs can help you transform an aging classic into a dependable, enjoyable car you can proudly drive and show.